Is your window looking foggy? Feeling an unexpected draft in your home? If so, it might be time to replace a window seal. In Singapore’s humid climate, a worn-out window seal can cause moisture buildup, mold growth, and increased electricity bills due to poor insulation. Not to mention, a broken seal reduces soundproofing, making your home noisier than it should be.
The process of replacing a window seal leads to better energy conservation and protects your home from water damage while maintaining year-round comfort. This guide will walk you through everything you need to know about window seal replacement, from spotting the warning signs to completing the job like a pro.
Therefore, LS Window Repair Services Singapore comes forth to explain the complete process of replace a window seal in Singapore. Moreover, their window gasket replacement, window installation, and window hinge replacement are the best in Singapore.
Signs You Need to Replace a Window Seal
Not sure if it’s time for a window seal replacement? The following are some indicators:
-
Condensation Between Window Panes
Moisture buildup inside double-glazed windows and a foggy appearance signals the breakdown of the window seal. Warm humid air penetration through the compromised seal causes permanent glass staining and reduced visibility of the window.
-
Drafts and Increased Cooling Costs
Run your hand along the window frame. If you feel air seeping in, your window seal is no longer airtight. Your air conditioner will need to work at maximum capacity because of this condition, which will result in increased energy costs.
-
Cracked or Peeling Sealant
Extreme temperatures and high humidity levels in Singapore eventually lead to the cracking or peeling of window seals. If you notice gaps in the sealant, it’s time to replace the old window seal before further damage occurs.
-
Louder Outdoor Noise
A good window seal helps block outside noise. If you start hearing more traffic or construction sounds, your window seal may not be as effective as before.

-
Water Leaks and Mold Growth
A defective window seal allows rainwater entry that will cause mold development and structural harm. If you see mold spots near your window, don’t ignore them—replacing a window seal in Singapore can help prevent costly repairs.
Tools & Materials Needed for Window Seal Replacement
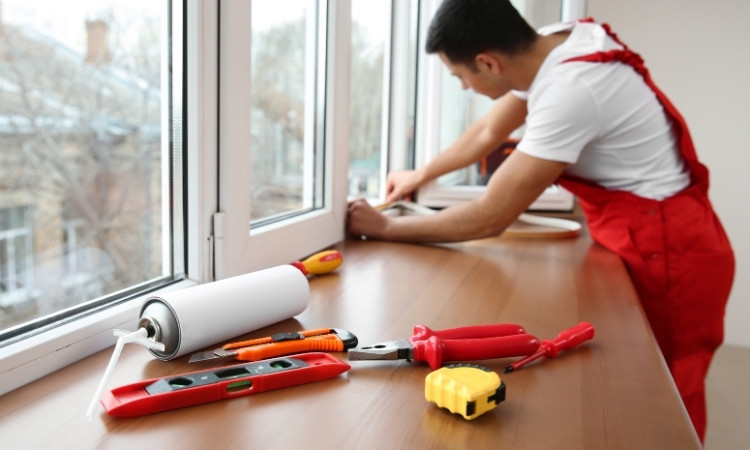
Before starting, gather these essential tools:
- Utility knife or putty knife – For removing the old seal
- Rubbing alcohol or mild detergent – For cleaning the window frame
- Microfiber cloth or sponge – For wiping surfaces
- Silicone sealant (weather-resistant) – For sealing gaps and ensuring insulation
- Caulking gun – For applying the new sealant
- Masking tape – For clean application
- Measuring tape – To cut the new seal accurately
- Hairdryer or heat gun (optional) – To soften stubborn old seals
How to Replace a Window Seal: Step-by-Step Guide
Step 1: Remove the Old Window Seal
- Cut the edges of the old seal with either a utility or a putty knife.
- Slowly peel off the deteriorated sealant. If it’s stuck, use a hairdryer or heat gun to soften it for easier removal.
- Take caution to avoid scratching the glass while protecting the window frame from damage.
Step 2: Clean the Window Frame
- Use rubbing alcohol or mild detergent to clean the frame until all dirt and adhesive residue disappear.
- The glass surface must dry completely until it is ready for new seal application. The bond strength and durability depend on having a surface that is completely clean.

Step 3: Cut the New Seal
- Measure the new seal’s length precisely by using a measuring tape.
- Cut slightly longer than needed to ensure a snug fit.
Step 4: Apply the New Seal
- If using silicone sealant, load your caulking gun and apply an even bead along the edges.
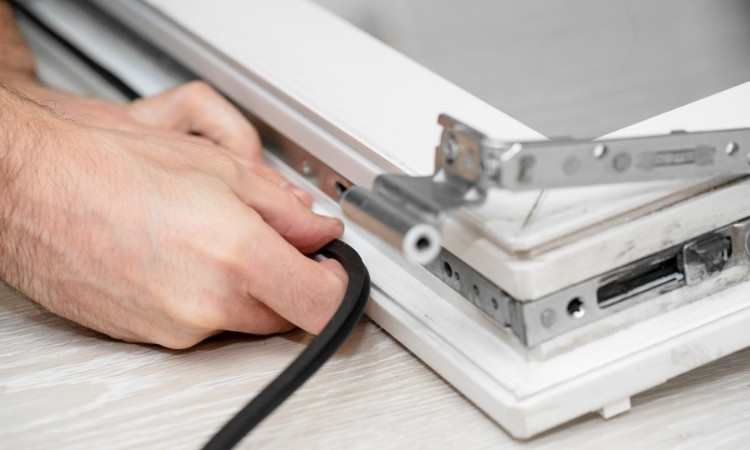
- If using a rubber or foam seal, press it firmly into place.
- Use masking tape for clean application and smooth the seal with a gloved finger or putty knife.
Step 5: Allow the Seal to Cure
- Drying time varies, but most silicone-based sealants need 24 hours to fully cure.
- Do not operate the window throughout this time period.
Step 6: Check for Gaps or Weak Spots
- Once dry, run your hand along the edges to check for drafts.
- If you detect any leaks, apply another layer of sealant.
Tips for Long-Lasting Window Seals
- Use high-quality, weather-resistant sealant – Singapore’s humid climate can quickly degrade cheap materials.
- Inspect your seals regularly – Check every 6 to 12 months for cracks or peeling.
- Avoid strong chemicals – Harsh cleaners can weaken seals over time. Stick to mild detergent and water.
- Touch up when needed – If you spot minor damage, reapply the sealant before it worsens.
Conclusion
Learning how to replace a window seal will enable you to prevent costly fixes while achieving better energy efficiency along with greater home comfort. Whether you’re tackling a window seal replacement on your own or hiring a professional, keeping your windows sealed properly is key to a well-insulated home.
For minor repairs, a DIY fix can save you money. But if your home has multiple failing seals or complex window types, getting a professional ensures a longer-lasting result. Take action today—inspect your windows and replace the old window seal before small issues turn into big problems!

